.
. This tutorial demonstrates the export of a small
sample from the database. For an introduction see a short tutorial
.
In the main form, select the data that should be exported (only the data displayed in the query results are exported).
Choose Data -> Export ->
 Wizard ->
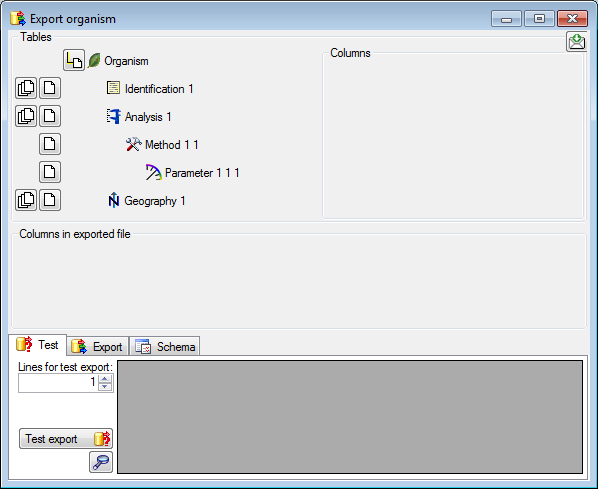
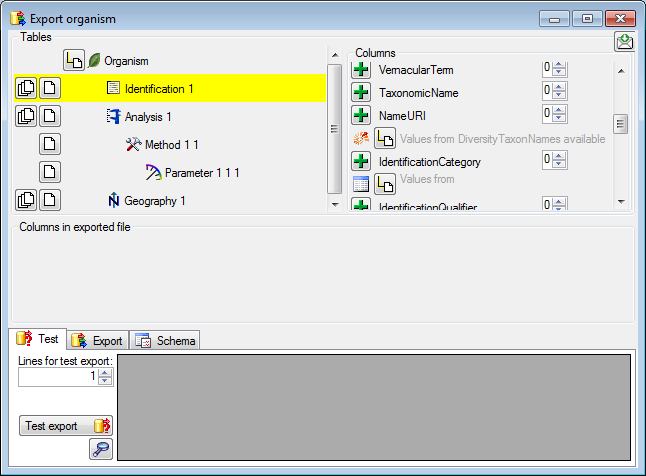
 Organism ... from the menu. A window
as shown below will open where the available tables for export are listed in the
upper left area. To show the data columns of a table, select this table in the list.
Organism ... from the menu. A window
as shown below will open where the available tables for export are listed in the
upper left area. To show the data columns of a table, select this table in the list.
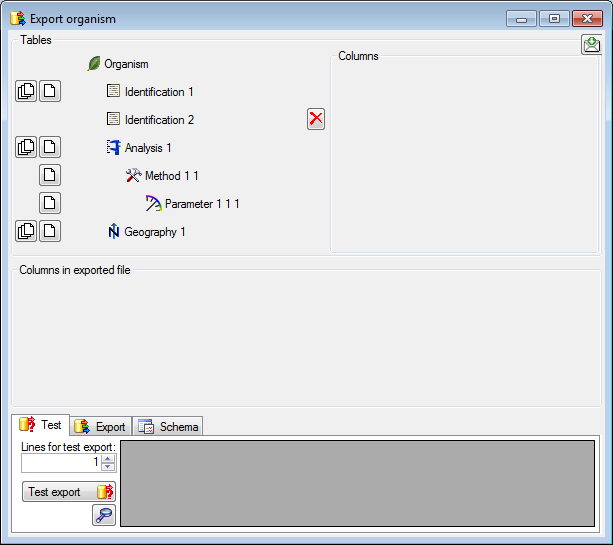
In this example, we want to add as many parallel
identification tables as present in the data. To do this, click on
the
 button of the Identification table. At the
end of the list (depending on your data) the additional tables are added (see
below).
button of the Identification table. At the
end of the list (depending on your data) the additional tables are added (see
below).
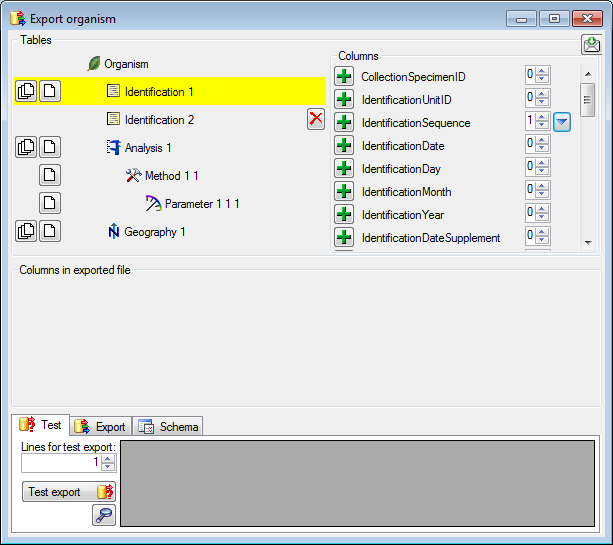
To set the sequence of the Identifications, select
the first table and for the column IdentificationSequence set sorting sequence
to 1 and the direction for
sorting to descending
 .
.
Some columns provide the possibility to add data from linked tables or modules. In this example we choose the column NameURI linking to the module DiversityTaxonNames (see below).
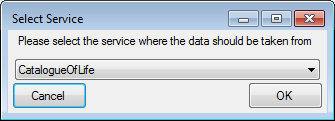
To provide linked values, click on the  button. A window as shown below will open, where you can choose among the
provided services.
button. A window as shown below will open, where you can choose among the
provided services.
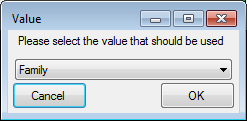
After the service is selected, you will be asked for the value provided by the service (see below).
Now the selected link is added underneath the column as shown below. You can add as many links as you need for your export.
For some modules there are values that refer to other modules with a name like Link to ... as shown in the example below.
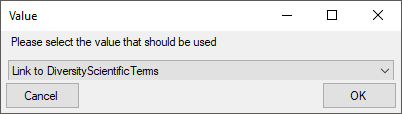
If you select one of theses values, you will be asked to select the service or database linked to this modul (see below)
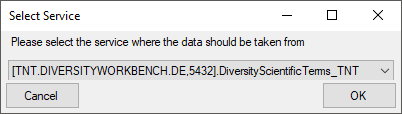
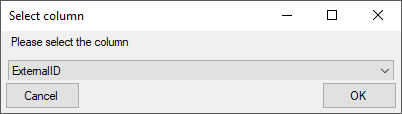
... and then to select one of the provided columns (see below)
Within the form this linked values will be marked as shown below. If several results are retrieved these will be separated with by " | ".

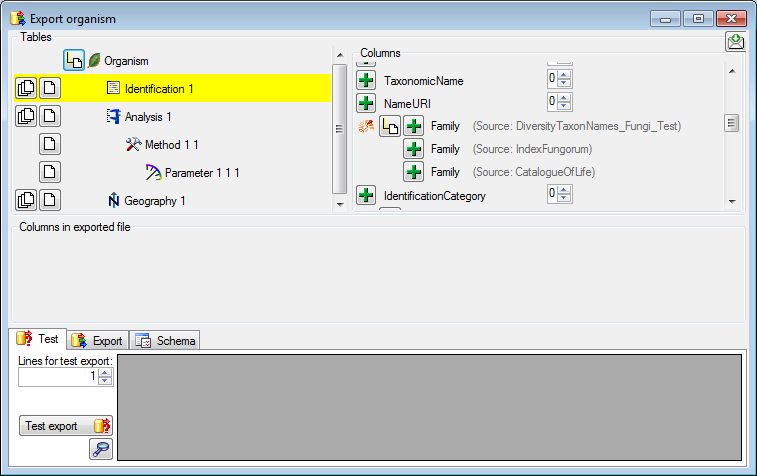
To add columns to the exported file, click on the
 buttons for the columns resp. linked values. In
this example select all Family values and the TaxonomicName (see below).
buttons for the columns resp. linked values. In
this example select all Family values and the TaxonomicName (see below).
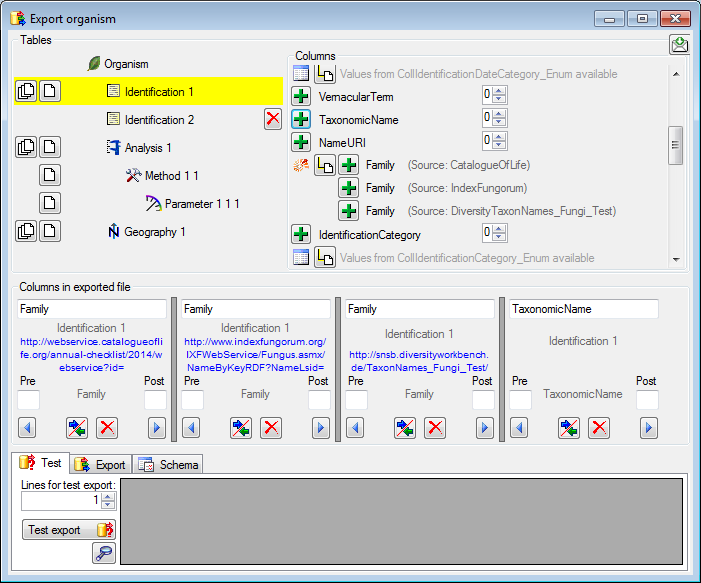
The families should appear as one column and as the
sources can exist only once for each identification we can fuse these columns.
To do so, click on the delimiters
 between these columns
(see below).
between these columns
(see below).
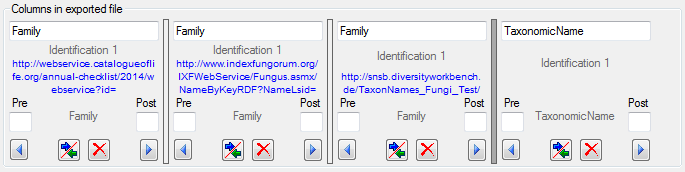
By default the headers for the exported data are set according to the names of the columns in the database. To change this, edit them as shown below where TaxonomicName has been changed to Taxon (see below). For fused columns only the header in the first column will be used.


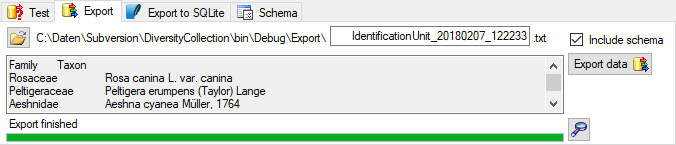
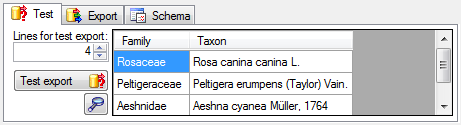
To test the export, click on the Test export
button. The result depends on
the content in your data but should look similar as shown below.
To finally export the data, choose the
Export tab. By default the
data will be exported into tab separated file in a directory in the application
directory (see below). You can change the directory (click on the
 button). You can choose the
 Include schema option to create
a schema that you may reuse in a later export.
Include schema option to create
a schema that you may reuse in a later export.