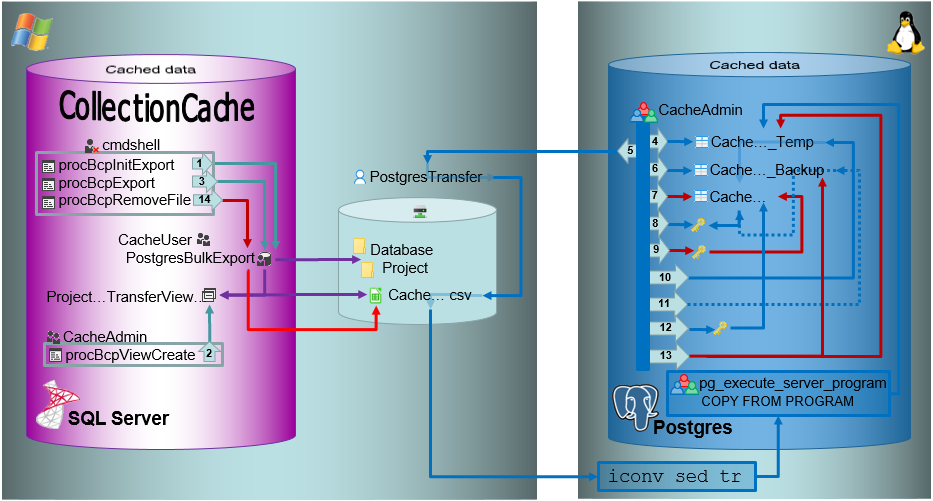
The image shows an overview of the steps described below. The numbers in the arrows refer to the described steps.
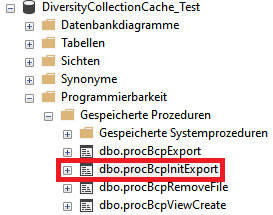
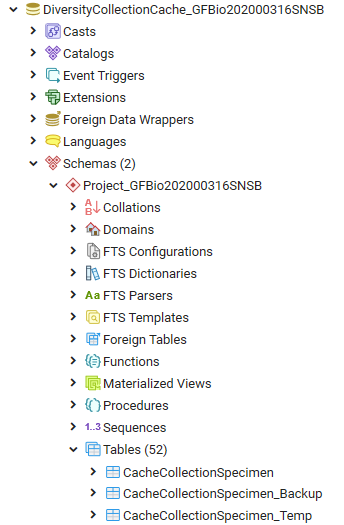
In the shared directory folders will be created according to .../<Database>/<Schema>. The data will be exported into a csv file in the created schema (resp. project) folder in the shared directory. The initialization of the export is performed by the procedure procBpcInitExport (see below and 1 in the overview image above).
To export the data into the file a view (see below) will be created transforming the data in the table of the SQL-Server database according to the requirements of the export (quoting and escaping of existing quotes). The creation of the view is performed by the procedure procBcpViewCreate (see above and 2 in the overview image above).
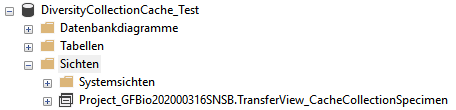
The views provide the data from the SQL-Server tables in the sequence as defined in the Postgres tables and perform a reformatting of the string values (see example below).
CASE WHEN [AccessionNumber] IS NULL THEN NULL ELSE '"' + REPLACE([AccessionNumber], '"', '""') + '"' END AS [AccessionNumber]
To data will be exported using the procedure procBcpExort (see above and 3 in the overview image above) into a csv file in the directory created in the shared folder (see below).

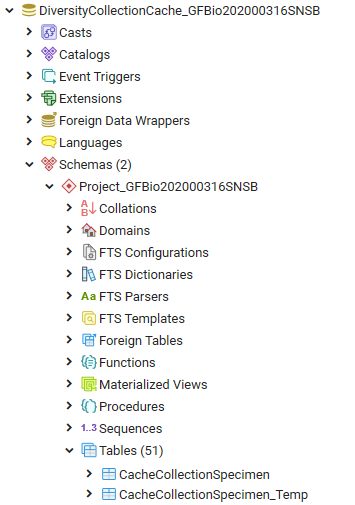
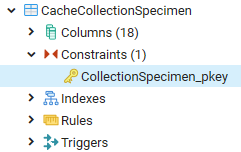
For the intermediate storage of the data, a temporary table (..._Temp) is created (see below and 4 in the overview image above). This table is the target of the bash import described below.
As Postgres accepts only UTF-8 without the Byte Order Mark (BOM) the exported csv file must be converted into UTF-8 without BOM. For this purpose there are scripts provided for every Windows-SQL Server instance (/database/exchange/bcpconv_INSTANCE). These scripts accept the UTF-16LE file that should be converted as an argument in dependence of the name of the instance, e.g. for INSTANCE 'devel':
/database/exchange/bcpconv_devel DiversityCollectionCache_Test/Project_GFBio202000316SNSB/CacheCollectionSpecimen.csv
The scripts are designed as shown below (for INSTANCE 'devel'):
#!/bin/bash iconv -f UTF16LE -t UTF-8 /database/exchange/devel/$1 | sed '1s/^\xEF\xBB\xBF//' | tr -d '\r\000'
AS a first step iconv converts the file from UTF-16LE to UTF-8.
AS next step sed removes the Byte Order Mark (BOM).
AS final step tr removes NULL characters.
The script above is used as source for the import in Postgres using the psql COPY command as shown in the example below (for INSTANCE 'devel').
COPY "Project_GFBio202000316SNSB"."CacheCollectionSpecimen_Temp" FROM PROGRAM 'bash /database/exchange/bcpconv_devel DiversityCollectionCache_Test/Project_GFBio202000316SNSB/CacheCollectionSpecimen.csv' with delimiter E'\t' csv;
The options set the tab sign as delimiter: with delimiter E'\t' and csv as format of the file: csv .
Within the csv file empty fields are taken as NULL-values and quotes empty strings "" are taken as empty string. All strings must be included in quotation marks ("...") and quotation marks (") within the strings must be replaced by 2 quotation marks ("") - see example below. This conversion is performed in the view described above.
any"string -> "any""string"
Bash conversion and Import with COPY relate to 5 in the overview image above. The COPY command is followed by a test for the existance of the created file.
Before removing the old data from the main table, these data are stored in a backup table (see below and 6 in the overview image above).
After a backup was created and the new data are ready for import, the main table is prepared and as first step the old data are removed (see 7 in the overview image above).
To enable a fast entry of the data, the primary key must be removed. There the definition of this key must be stored for recreation after the import (see below and 8 in the overview image above).
After the definition of the primary key has been extracted from the table, the primary key is removed (see below and 9 in the overview image above).
After the data and the primary key has been removed, the new data are transferred from the temporary table into the main table (see 10 in the overview image above) and the number is compared to the number in the temporary table to ensure the correct transfer.
In case of a failure the old data will be restored from the backup table (see 11 in the overview image above).
After the data have been imported the primary key is restored (see 12 in the overview image above). Finally the intermediate table and the backup table (see 13 in the overview image above) and the csv file (see 14 in the overview image above) are removed.