 : Transfer data of
the data via bcp
 To transfer the data you have several options:
 : Transfer data of
the data via bcp
With the
 resp.
resp.
 button you can decide if the data should
be checked for updates. If this option is active (
 ) the program will compare the contents and
decide if a
transfer is needed. If a transfer is needed, this will be indicated with a red
border of the transfer button
 . If you transferred only a part
of the data this will be indicated by a thin red border for the current session
 . The context menu of the
 button
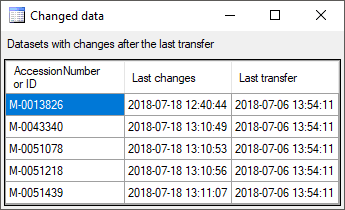
 View differences will show the accession
numbers of the datasets with changes after the last transfer (see below).
If an embargo has been defined in DiversityProjects, a message will be shown (see below) and you well get a warning if you start a transfer. The automatic transfer for projects with an embargo will be blocked.

If a competing transfer is active for the same step, this will be indicated as shown below. While this transfer is active, any further transfer for this step will be blocked.

If this competing transfer is due to e.g. a crash
and is not active any more, you have to get rid of the block to preceed with the
transfer of the date. To do so you have to reset the status of the transfer. Check the scheduler

 as shown below. This will activate the
 button.

Now click on the
 button to open the window for setting the
scheduler options as shown below.
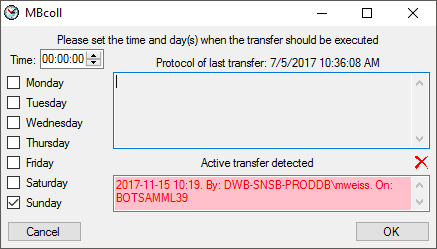
To finally remove the block by the
Active transfer,
click on the
 button. This will remove the block and you can
preceed with the transfer of the data.
To
transfer the data for a certain project, click on the
![]() button in the
Cache- or Postgres data range
(see below).
button in the
Cache- or Postgres data range
(see below).

A window as shown below will open,
where all data ranges for the transfer will be listed. With the button you can set the timeout for the transfer
of the data where 0 means infinite and is recommended for large amounts of data.
With the
 button you can switch on resp. of the generation
of a report. To stop the execution in case of an error click
on the
![]() button. The button
will change from
button. The button
will change from
![]() to
to
 and the execution
will stop in case of an error. Click on the Start
transfer
![]() button to start the transfer.
button to start the transfer.
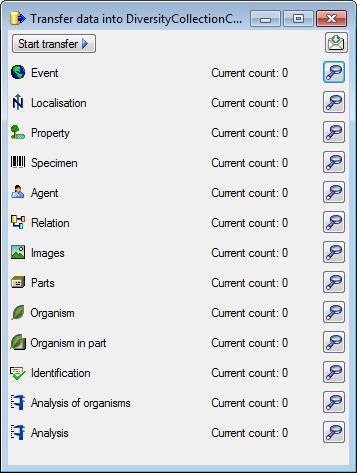
After the data are transferred, the number and data are visible as shown below.
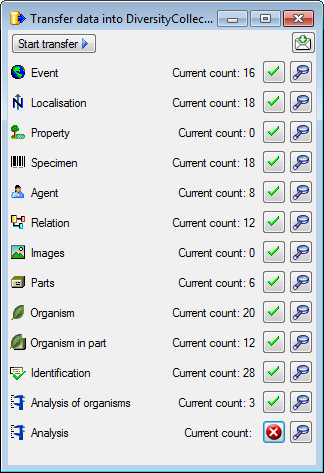
After the data are transferred successful
transfers as indicated by
 an error by
 . The reason for the failure
is shown if you click on the
 button. For the transfer to
the Postgres database the number in the source and the target will be listed as
shown below indicating deviating numbers of the data. For the detection of
certain errors it may help to activate the logging as described in the chapter
Transfer Settings.
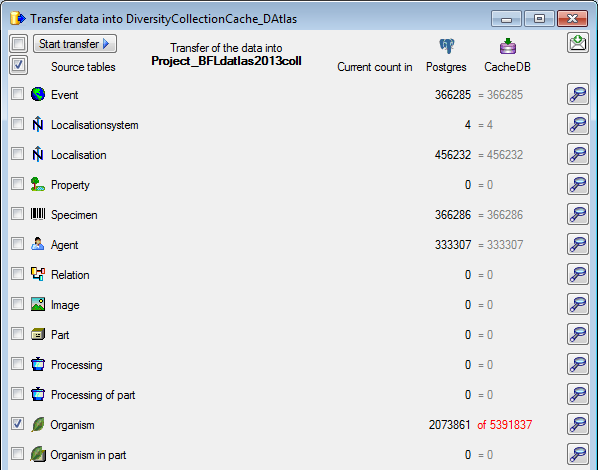
To inspect the first 100 lines of the transferred
data click on the
 button.
To
transfer the data for all projects selected for the schedule based transfer, click on the
![]() button in the cache- or Postgres data range
(see below).
button in the cache- or Postgres data range
(see below).

Together with the transfer of the data, reports
will be generated and stored in the reports directory. Click on the
 button in the Timer area to open this
directory. To inspect data in the default schemas (dbo
for SQL-Server
 and public for Postgres
  ) outside the project schemata, use the
 buttons shown in the image above.
 database to
 cache database and all
  Postgres databases
To transfer the data as a background process use the
following arguments:
For example:
C:\DiversityWorkbench\DiversityCollection> DiversityCollection.exe CacheTransfer snsb.diversityworkbench.de 5432 DiversityCollection 127.0.0.1 5555 DiversityCollectionCache PostgresUser myPostgresPassword
The application will transfer the data according
to the settings, generate a protocol as described above and quit automatically after the transfer of the data.
For an introduction see a short tutorial
 .
The user starting the process needs a Windows authentication with access to the
SQL-Server database and proper rights to transfer the data. The sources and projects within
DiversityCollection will be transferred according to the settings (inclusion,
filter, days and
time). The transfer will be documented in report files. Click on the
 button to access these files. For a simulation
of this transfer click on the Transfer all data according to the settings
![]() button at the top of the form. This will
ignore the time restrictions as defined in the settings and will start an
immediate transfer of all selected data.
button at the top of the form. This will
ignore the time restrictions as defined in the settings and will start an
immediate transfer of all selected data.
To generate transfer reports and document every
step performed by the software during the transfer of the data use a different first argument:
C:\DiversityWorkbench\DiversityCollection> DiversityCollection.exe CacheTransferWithLogging snsb.diversityworkbench.de 5432 DiversityCollection 127.0.0.1 5555 DiversityCollectionCache PostgresUser myPostgresPassword
To transfer only the data from
the main database into the cache database use a different first argument:
To transfer only the data from
the cache database into the postgres database use a different first argument:
The remaining arguments correspond to the list above. The generated report files are located in the directory .../ReportsCacheDB and the single steps are witten into the file DiversityCollectionError.log.

For every
transfer of the data along the pipeline, the settings (e.g. version of the
databases) the number of transferred data together with the
execution time and additional information are stored.
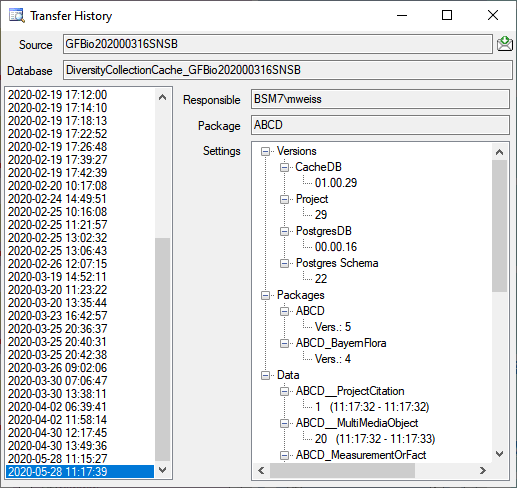
Click on the  button in the respective part to get a list of all previous
transfers together with these data (see below).
